
These methods were used in Malawi by Ken Coetzee and Wallie Stroebel of Conservation Management Services (CMS), who are based in George in the Western Cape Province of South Africa. They were contacted by an Irish charity called Wells for Zoe, which is working on a landscape restoration project at Enyazini, in the Mzimba district in the northern part of Malawi.
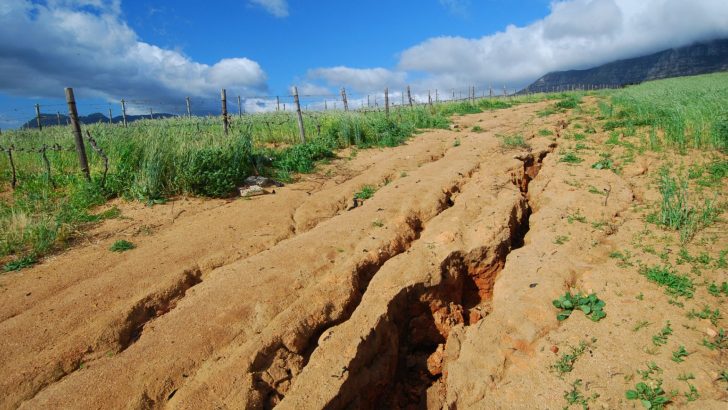
Various measures were used to stop the erosion of the head-cuts of gullies where run-off water eats into the topsoil, creating collapsing vertical gully sides which advance with every rainfall event due to the removal of the protective vegetation cover. The complete deforestation of the mountain slopes at Enyazini for firewood and charcoal production is what kick-started the soil erosion problem.
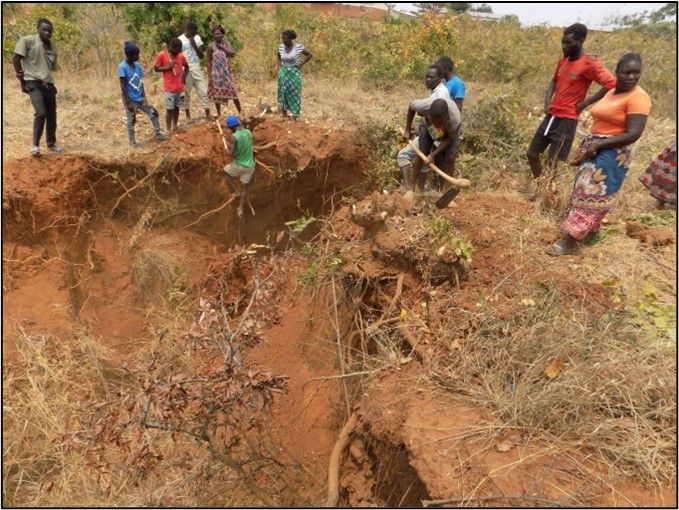
Members of the local community were shown how to apply the erosion control methods and then put to work fixing some of the soil erosion on their farmland and in the nearby deforested area.
Head-cuts
In this issue we discuss the ways in which CMS demonstrated how to stabilise head-cuts and prevent them from advancing further into valuable soil.
A head-cut occurs at the top end of an erosion gully and it is where run-off water eats into the unprotected soil, creating a vertical sided “hole” that advances upstream, making the gully longer with every rainfall event. Water running down the gully washes away the soft soil of the sides, causing the sides to collapse into the gully which also makes the gully wider every time it rains.
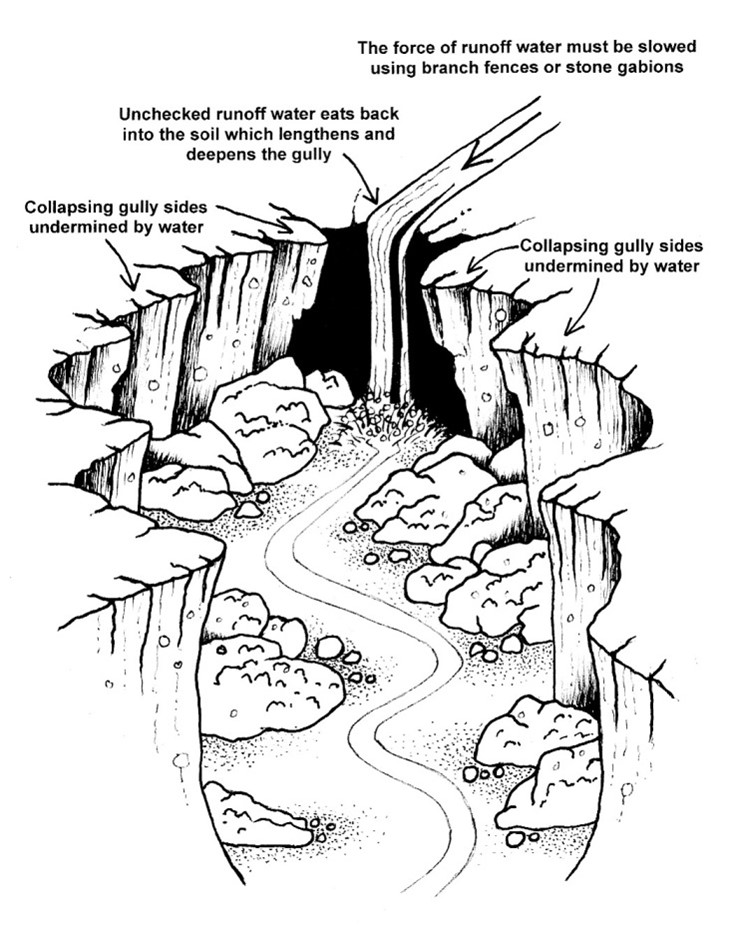
As time goes by, the water that tumbles into the head-cut “hole” keeps eating away the soil, causing the hole to grow longer upstream and also deeper, creating the vertical, collapsing gully sides (see Figure 1).
Figure 1: Typical head-cut erosion caused by unchecked run-off that washes away the banks, causing them to collapse.
These deep holes are a safety hazard for people and animals that may fall into them. When they occur along a road embankment or near to a road, the road can be destroyed and vehicles can also end up in them (see Picture 1).
Picture 1: A dangerous head-cut next to a road
Solution
The idea is to level out the steep banks of the head-cut and slow down the rush of water to prevent further erosion. The profile of the head-cut is changed by levelling out the steep sides and partly filling up the bottom of the deep gulley with the soil cut from the sides (see Figure 2).
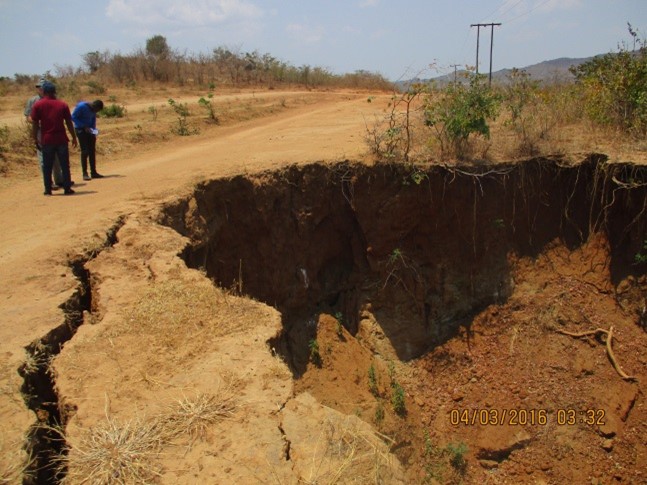
Figure 2: The stages of head-cut repair shown in section.
Grass fences are then installed on the newly sloped area to stabilize the soil. The areas between these fences are then covered with plant material, whatever is available, it may be cut branches, maize stalks or dried veld grass. Vegetation is replanted on the slopes so that the roots of the plants help to keep the soil together. All the exposed bare soil is covered with plant material.
Step by step treatment of the head-cut
Remove vegetation
Remove all vegetation up to 2,5 m from the edge of the head-cut. Put aside the plants and roots for later use (see Picture 2).
Picture 2: The vegetation is removed before the slopes are levelled.
Level the slopes
Using hoes and spades, slope the vertical edges down to a gentler slope with an angle of not more than 35 degrees (see Picture 3).
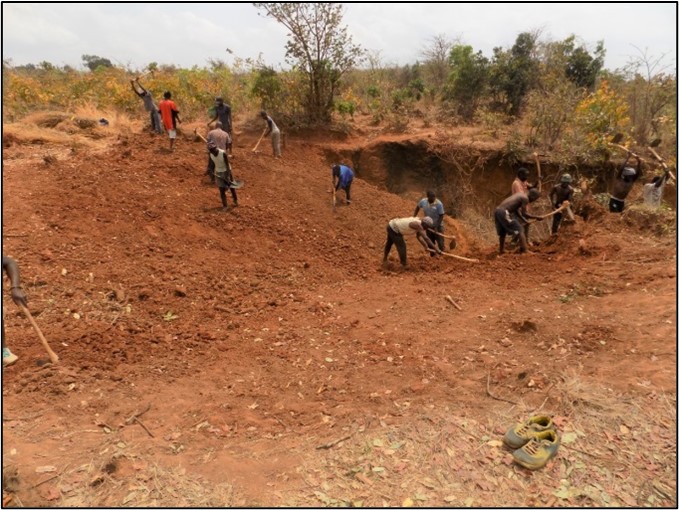
Picture 3: The slopes are levelled and the gully filled in.
Fill in the gulley
Use the soil that is cut down from the steep sides to partly fill in and raise the bottom level of the head cut.
Grass fences
Installing grass fences above and on the bottom of the hole will slow down the rush of surface run-off water. The grass fences must be installed perpendicular, or at a right angle (90 degrees), to the flow of the water.
Sections of grass fence are created by making a frame of thin branches. The frame must be at least 500 mm tall and have branches positioned at the top, middle and bottom of the fence section. Bundles of tall, dried grass are then firmly tied to the frame using sisal string or wire (see Picture 5).
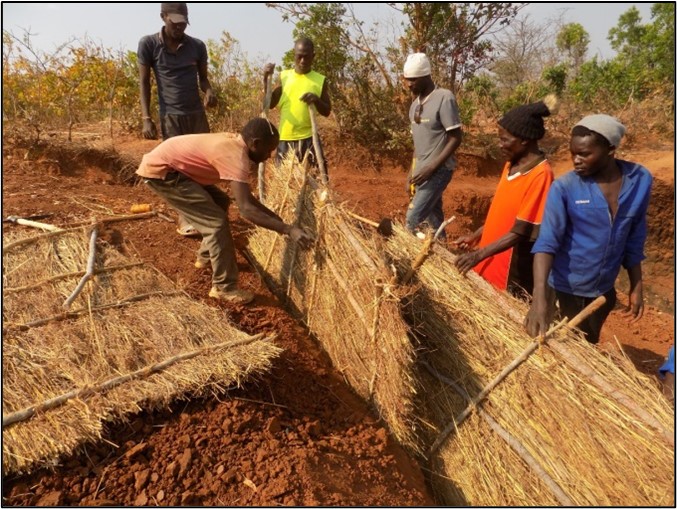
Picture 5: A grass fence is installed in the trench.
Cut trenches of at least 300 mm deep across the re-shaped area (see Picture 4).
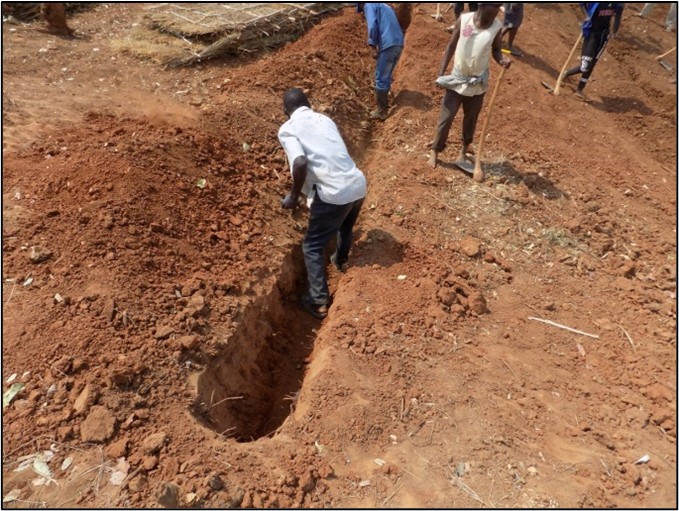
Picture 4: A trench is cut on the slopes and in the bottom.
Fit the grass fence sections into the trenches so that the ends overlap. Plant strong poles into the trench at the end of each grass section. Tie the grass fence sections to the poles (see Picture 6).
Picture 6: The grass fence is tied to posts.
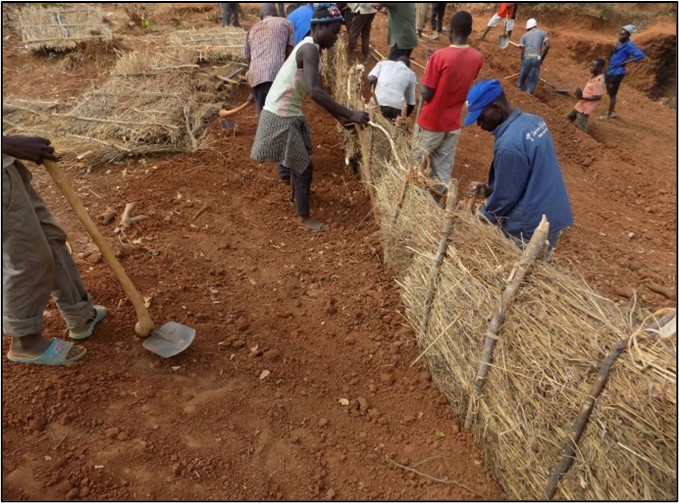
Fill in the trench on both sides of the grass fence with soil and make sure it is well compacted.
Cover up
Establish a suitable plant cover over the entire treated area to help bind the new soil surface.
Pack brush or any other plant material on all bare areas of the sloped head-cut treatment site (see Picture 7).
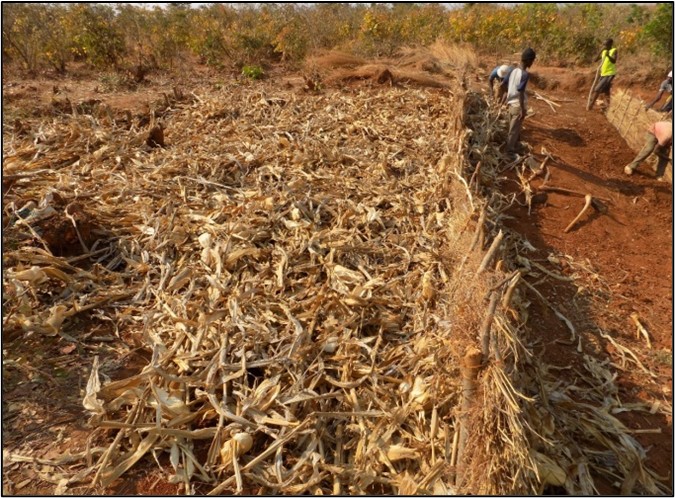
Picture 7: The areas on both sides of the fence is covered with mulch, such as brush and grass.
Cover all the bare areas on both sides of the fence with grass, leafy branches, or other organic material, such as maize stalks or old thatch grass. It may be necessary to put branches or wooden poles on top of the grass to keep it down.
This groundcover will also help slow down the surface run-off flow of water, which will give it time to penetrate the soil. In time, seeds and plants dislodged by the water will wash up against the fences, where they will germinate and take root, creating a living barrier that will help to prevent
further erosion.
Harvest brush in such a way that at least half of the plant remains. This means that much of the plant material will have to be harvested further away from the treated area. If all the plant material in the area is removed, it will simply add to the erosion problem and cause additional erosion. Try to use plants that will easily sprout again after cutting the tree or shrub.
Contact the Conservation Management Services at: Ken Coetzee: +27-7227-5056, Wallie Stroebel: +27 82-493-1441 or visit their website at www.conservationmanagementservices.co.za Illustrations provided by Conservation Management Services.


