For any farmer, the well-being of his livestock is of utmost importance. Dry Ice 4 Farming offers farmers innovative, alternative methods to brand their animals with cold irons.
Have you ever wondered how it works?
Cynthia Oliver of Dry Ice 4 Farming demonstrated step-by-step how to brand cows with dry ice at NAMPO 2024. The demonstrations attracted a large crowd every day.
Cynthia says that CryoBranding, or freeze branding, was developed in 1966 by Dr R Keith Farrell of Washington State University.
Instead of heating the branding irons as used in traditional methods, the branding irons are frozen with dry ice for a cold process.
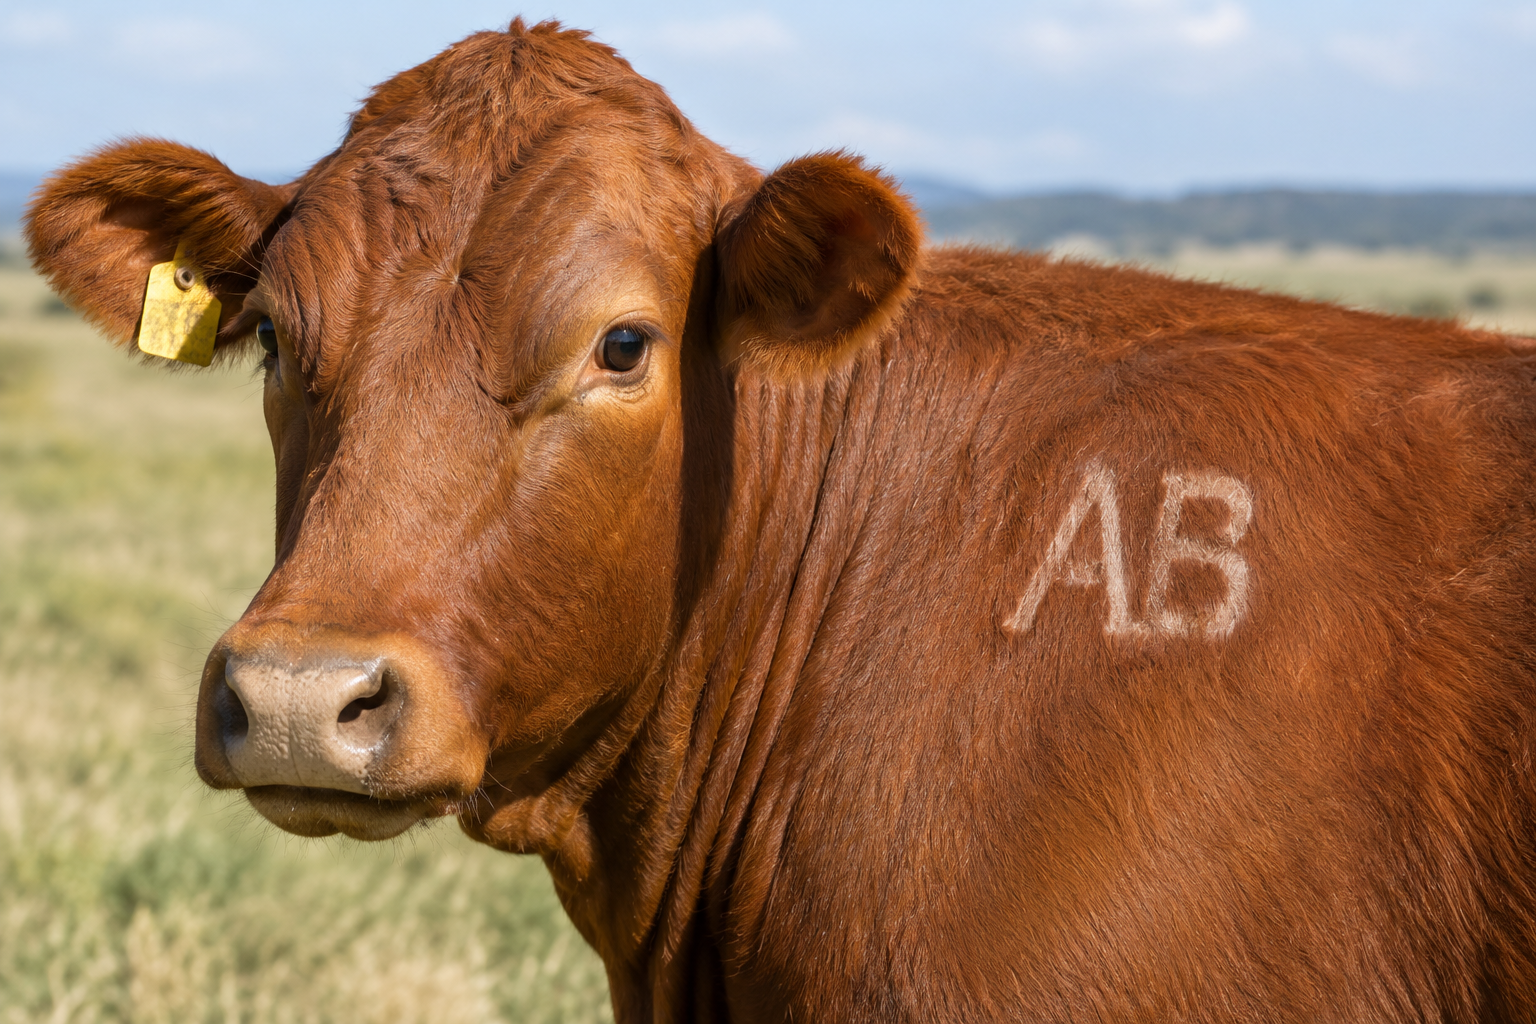
The cold branding iron destroys the cells under the skin that produce the hair’s pigmentation, causing the hair to grow back a bright white colour.
Freeze branding provides a very good and permanent identification of livestock, unlike, for example, ear tags that fall out or become illegible.

The Dry Ice team demonstrates the freeze-branding process to showgoers at NAMPO 2024.
There are several advantages to freeze branding:
- Freeze branding is a permanent identification mark for cattle and horses.
- The brand is neat and easily identifiable from a distance.
- Ideal for identifying cows in the milking parlour, which is required for efficient data recording.
- The animal experiences less stress and pain.
- Freeze branding causes little or no damage to the skin.
Cynthia emphasises the importance of doing freeze branding correctly for the process to work to its full potential and to achieve accurate results.
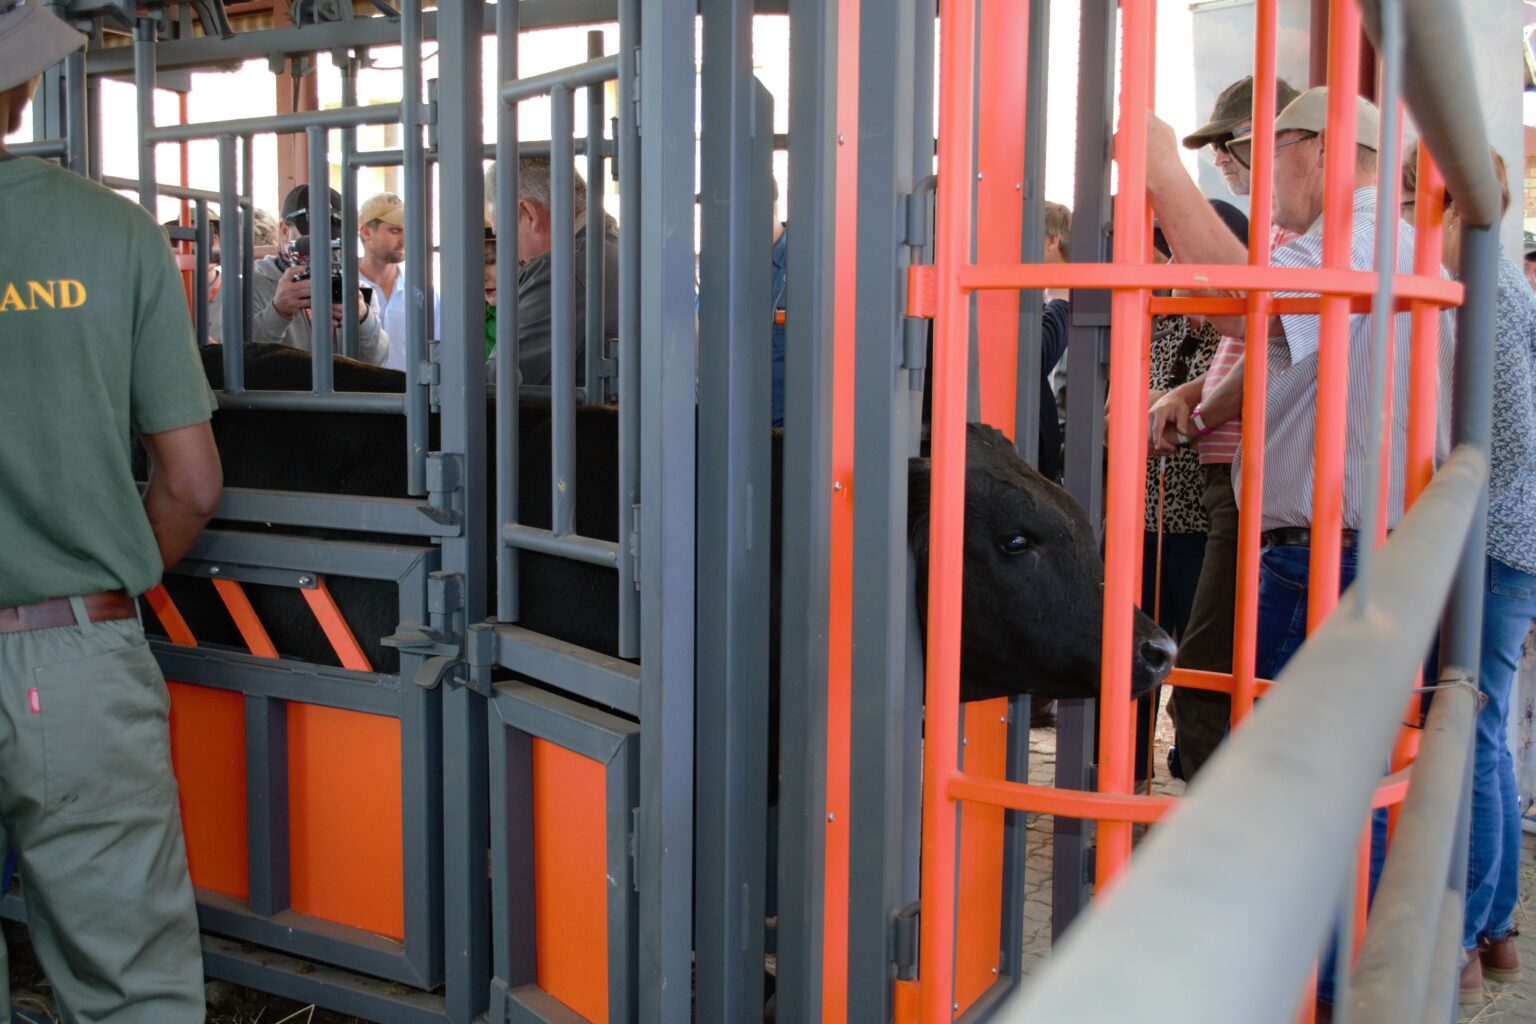
The demonstration attracted many curious showgoers at NAMPO 2024.
Here is your step-by-step explanation of the process:
Step 1: Pour Isopropyl alcohol into a container with a 2,5-kg block of dry ice, add branding irons and let them cool for 30 minutes.
Step 2: Hold the animal firmly in a neck clamp or use an immobiliser to work comfortably.
Step 3: Brush and cut or shave the hair on the area to be branded. Clean it with alcohol.
Step 4: Apply the cold iron to the area and hold it still for 45 seconds; press firmly for best results.
When the branding iron is removed from the mixture, the dry ice should look like a liquid gel. This is a good indication that the iron is cold enough.
Step 5: After application, the brand will be indented.
Step 6: Place the branding iron back into the dry ice mixture, let it cool for five minutes before the next application.
The mark will swell five minutes after branding and seven days later it will form a scab. Forty days later new white hair will be visible which means the branding was successful.
The Dry Ice team is gearing up for NAMPO 2025. Make sure you visit their stand at the Nutri Feeds Hall number 47, and at the cattle complex number 3, to learn more about their products and services, or visit their website at www.dryice.co.za.