Looking for a smarter way to mark your livestock? Effective herd management always begins with clear and reliable identification. Traditional branding methods, however, can be stressful for animals, cause skin damage and often require additional follow-up treatment. Freeze branding offers a modern alternative – a safe, animal-friendly and non-invasive method that creates clear, permanent marks without causing burns or chemical damage.
When farmers use freeze branding, they can easily identify animals during sorting, vaccinations, breeding management or record keeping. This method combines practical herd management with sound animal welfare while producing highly visible marks. For farmers who value precision, neatness and efficiency, freeze branding is the logical choice.
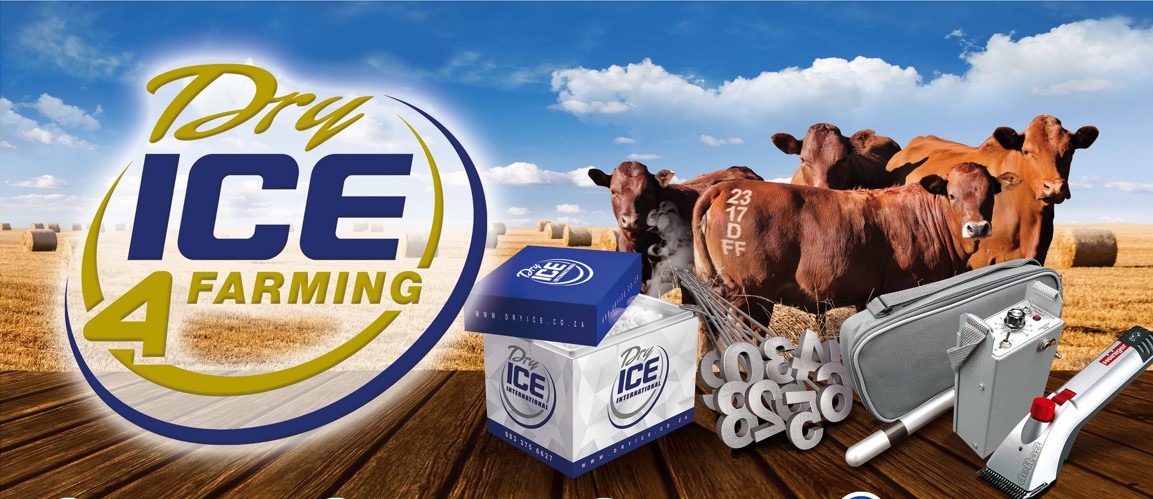
Dry Ice 4 Farming further provides a comprehensive solution by supplying both freeze-branding equipment and dry ice.
What is freeze branding and how does it work?
Freeze branding is a cold-marking process in which branding irons are cooled using dry ice and alcohol. When the chilled iron is pressed against the animal’s skin, the cells beneath the hair that produce pigment are destroyed. The hair that regrows after the procedure is white, leaving a permanent, clearly visible mark.
Unlike traditional branding, where heat damages the skin, freeze branding focuses on altering the animal’s hair pigment rather than creating a wound. This results in less pain, reduced stress and a neat outcome.
What do you need for this method?
To apply freeze branding safely and effectively, a well-prepared working area is essential. Because the procedure cannot be handled alone, ask some of your workers to assist you.
Required equipment:
- Electric clippers and a small brush
- An immobiliser and head clamp
- At least three sets of freeze-branding irons (for rotation)
- Plastic or polystyrene containers (never metal)
- Isopropyl alcohol and dry ice
- A timer such as a stopwatch or watch
- Spray bottles and a cleaning cloth
- A clipboard, pen and paper
- Safety gear such as gloves and protective goggles
- A power source or generator if needed
- Shelter or a gazebo for protection against wind and sun
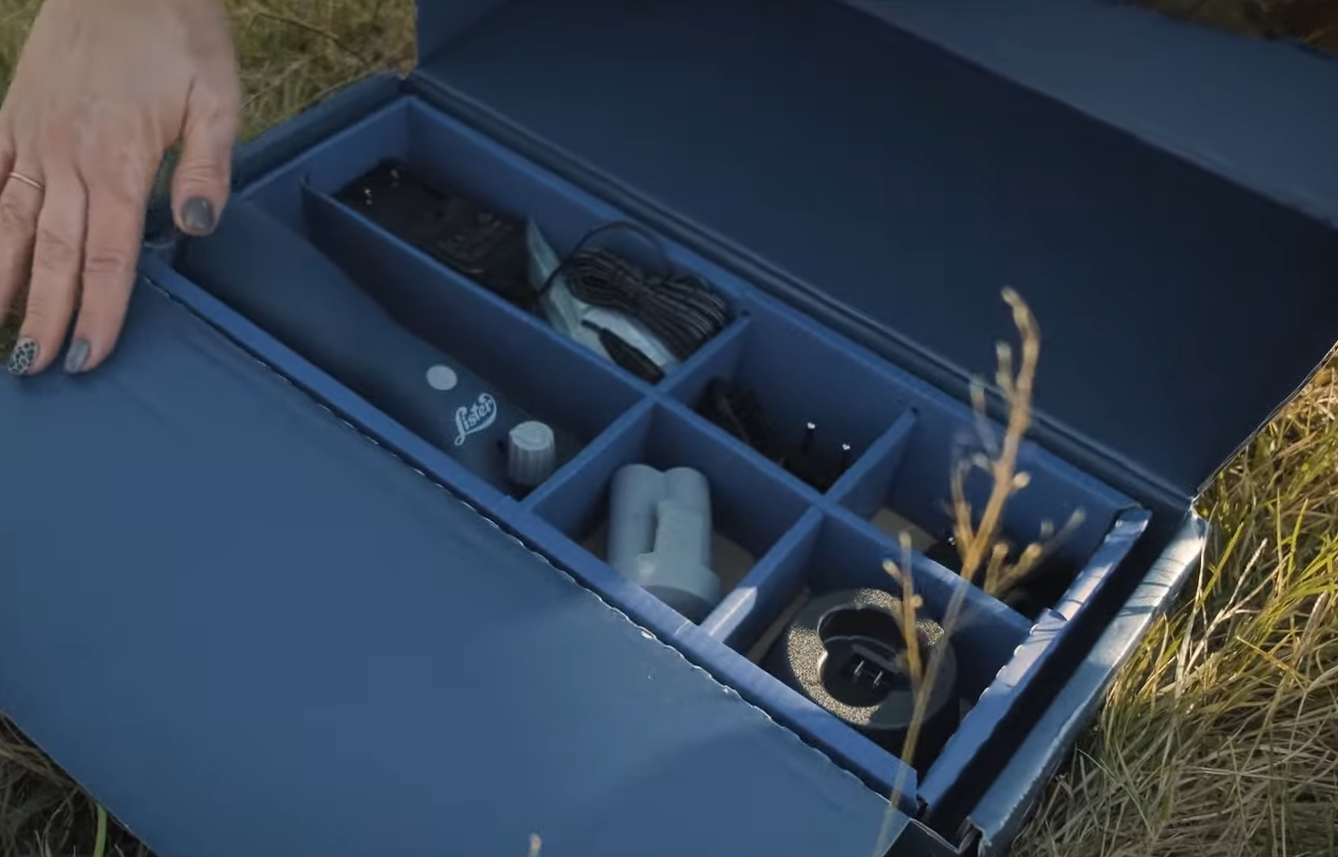
Dry Ice 4 Farming supplies farmers with a beginner’s kit.
Your freeze-branding work area
A neat workspace will help you work faster and more safely.
- Work under shelter if possible.
- Clearly label the branding irons.
- Arrange the cooling containers in a row and keep alcohol within reach.
- Set your timer to 45 seconds.
- Keep dry ice in its original container until use.
- Ensure the clippers and immobiliser are clean and ready.
- Have your clipboard, pen and paper ready before animals enter the crush.
 Clippers used for preparation. |
 Freeze-branding irons are kept in containers for rotation purposes. |
Preparing branding irons for freeze branding
Proper cooling is the key to a successful freeze-branding procedure:
- Label containers (eg, A, B and C) and pour about 5 litres of isopropyl alcohol into each.
- Add a 2,5 kg block of dry ice to each container (the mixture will bubble).
- Ensure that at least 100 mm of liquid covers the iron head.
- Place the labelled branding irons in their respective containers.
- Allow the irons to cool for at least 30 minutes.
- Rotate the irons during branding and allow about 3 minutes for re-cooling.
Safety tip: Never put your hands in the dry ice and alcohol mixture.
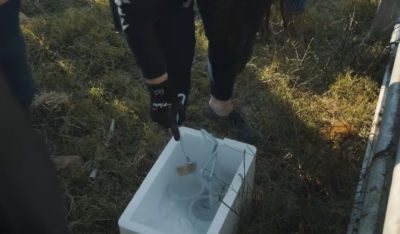 Freeze-branding irons are placed in the mixture to cool before marking. |
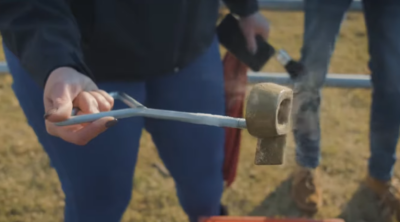 Freeze-branding iron after being removed from dry ice. |
Preparing animals for freeze branding
Good preparation ensures a clear and even freeze brand.
- Secure the animal in a head clamp and activate the immobiliser.
- Brush dirt and dust from the branding area (against the direction of hair growth).
- Clip the hair from bottom to top.
- Clean the area and lightly spray with isopropyl alcohol.
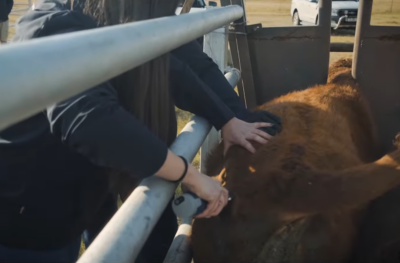 Precautions are taken before freeze branding. |
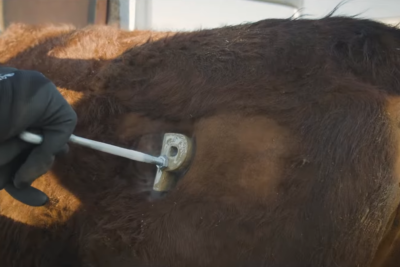 A freeze-brand mark is applied. |
The freeze-branding process: step by step
- Set the timer to 45 seconds and confirm the animal’s identity.
- Keep the correct irons ready, but leave them in the coolant until needed.
- Spray the branding area with isopropyl alcohol just before application.
- Remove the iron from the coolant and place it firmly on the skin.
- Apply strong, even pressure and start timing.
- Remove the iron after 45 seconds and return it to the appropriate container for re-cooling.
When the iron is removed from the mixture, the dry ice should resemble a liquid gel — an indication that it is sufficiently cold for freeze branding.
What to expect after freeze branding
- Immediately: a faint impression of the mark
- Minutes later: swelling forms a raised outline on the skin
- Hours later: swelling subsides
- ±7 days: the skin may appear rough or form a scab
- 2 to 4 weeks: skin flakes off, and white hair regrows
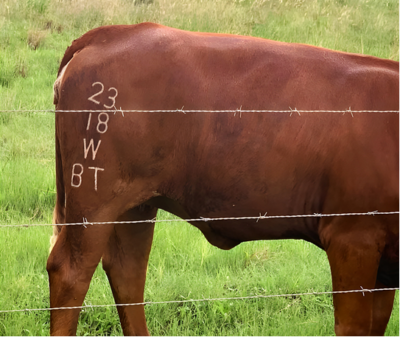
- ±40 days: the permanent freeze brand is clearly visible
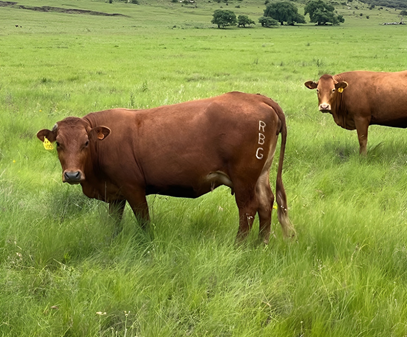 |
 |
Advantages of freeze branding
- Permanent identification of cattle and horses
- A clear mark visible from a distance
- Ideal for milking parlour management and record keeping
- Reliable herd identification
- Less pain, trauma and stress for animals
- A neat, professional appearance
- Minimal to no skin damage
Ear tags can be lost, and paint can fade, but freeze branding remains a clear and long-lasting identification method farmers can rely on with confidence.
Freeze branding is more than just an identification method; it is an investment in efficient herd management, data accuracy and animal welfare. With correct preparation and technique, farmers can achieve a permanent, visible and professional mark that will last for years.
For more information about products, equipment and training, visit https://dryice.co.za/4-farming/, contact Cynthia Oliver, freeze branding specialist, at +27(0)78-164-1712 or send an email to cynthia@dryice.co.za